Bread Baking
Every morning, fresh bread is baked in the office.
One loaf of bread is enough for 4 people, based on current bread eating pattern.
Requirements per loaf of bread:
- 500 grams of bread mix
- Water based on packaging requirements (of the bread mix)
How to bake Bread
-
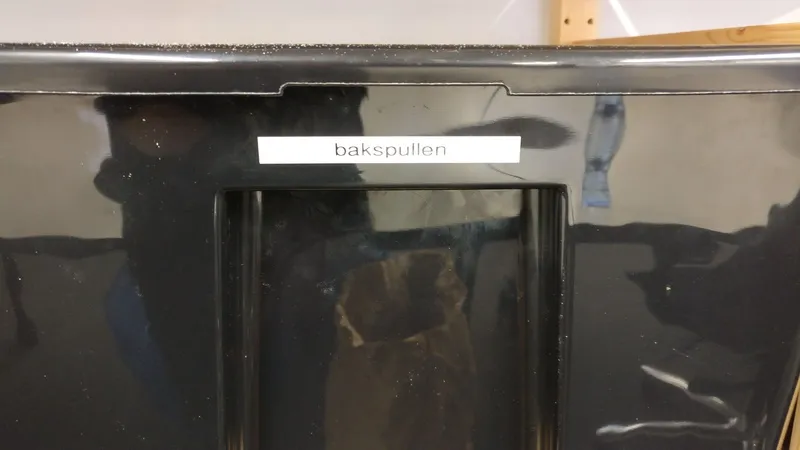
Grab supplies from the box labeled “bakspullen”.
-
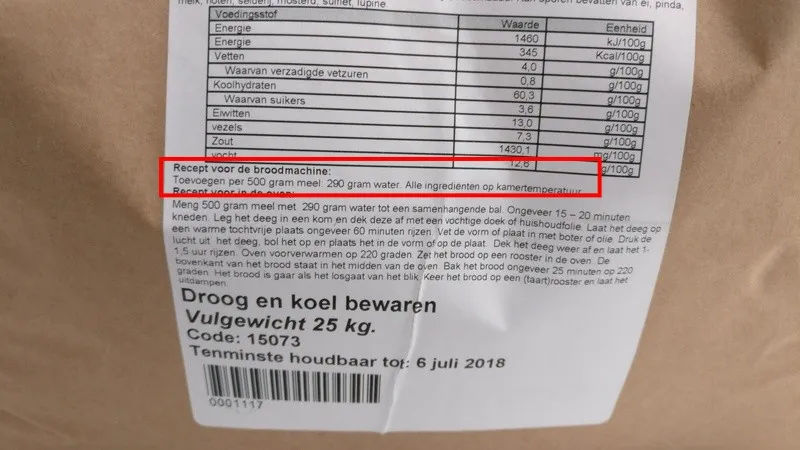
Read the package to see how many grams of mix and ml water are required. Note that there are two measurements on there, one for a bread maker and one for in the oven. Usually these are similar, but they might differ, be sure to read the one for the bread maker!
-
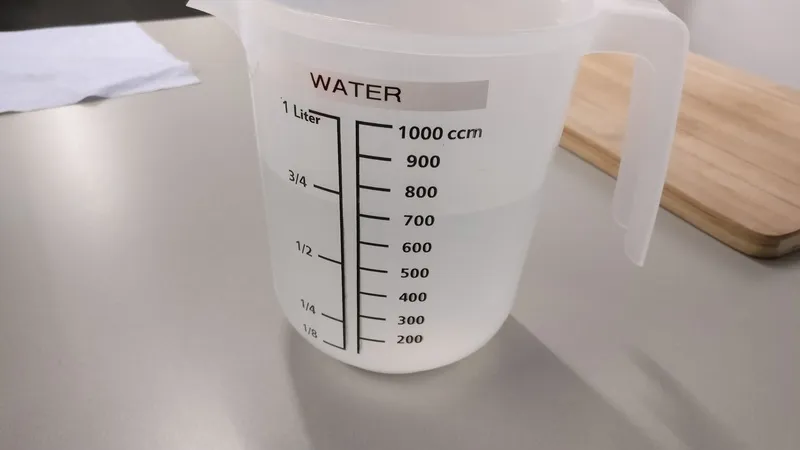
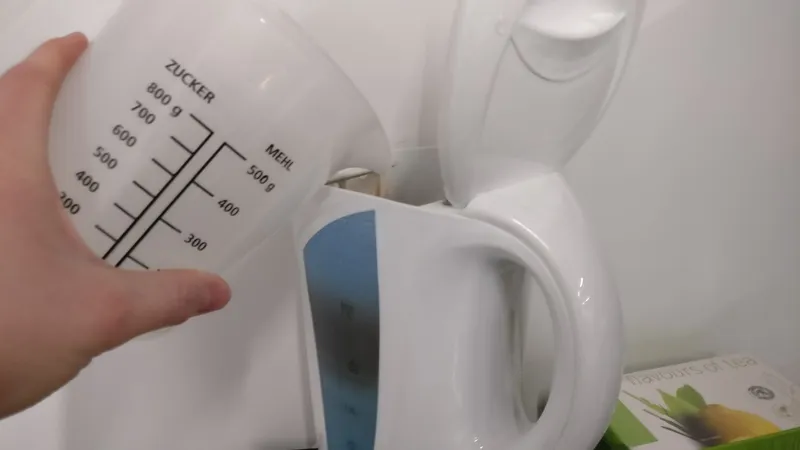
Fill the measuring cup labeled “water” with water. If you’re baking two breads get twice the amount of water that’s on the package. Getting more water is recommended.
-
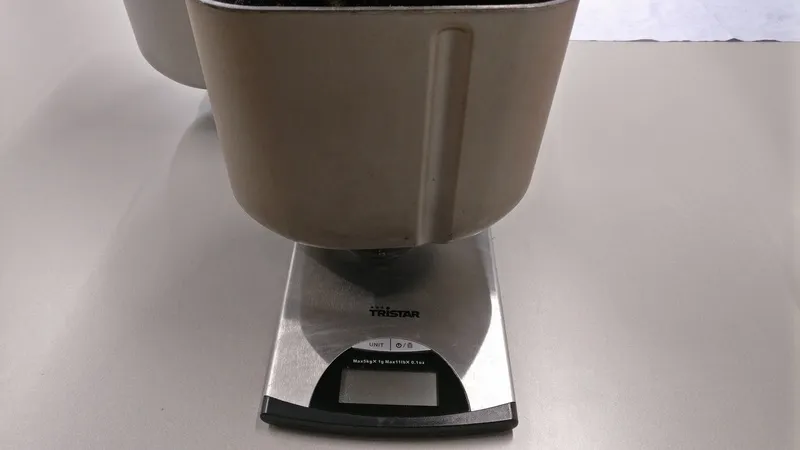
Place one of the baking tins on the scale and make sure the kneader (metal fin at the bottom of the tin) is inserted in the tin.
-
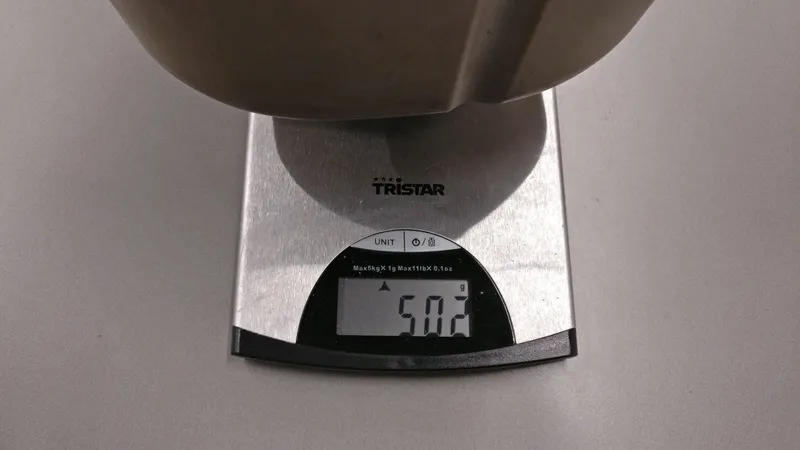
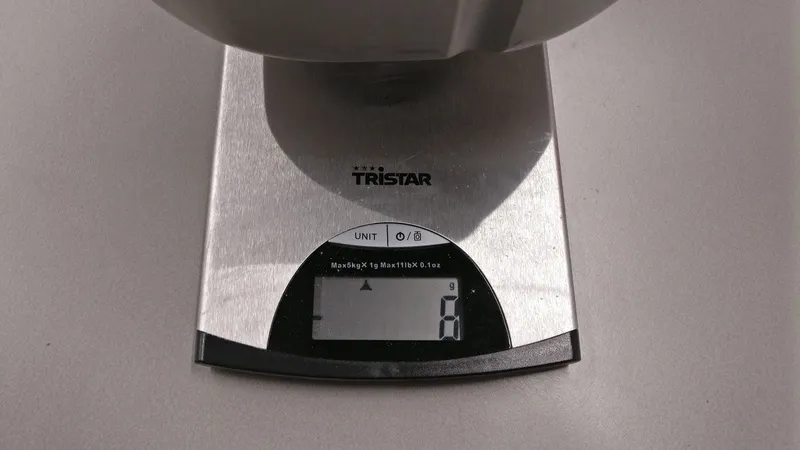
Turn the scale on (button labeled
1in the picture). The scale will tare accordingly, so it actually measures the content of the tin and not the tin itself. Make sure it measures in grams, this is shown on the scale (2in the picture). If it doesn’t indicategfor grams, press (and release) theUNITbutton until it does.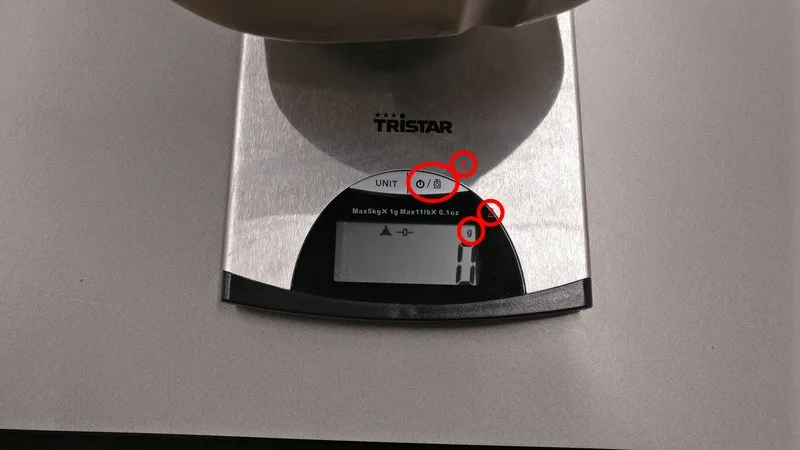
-
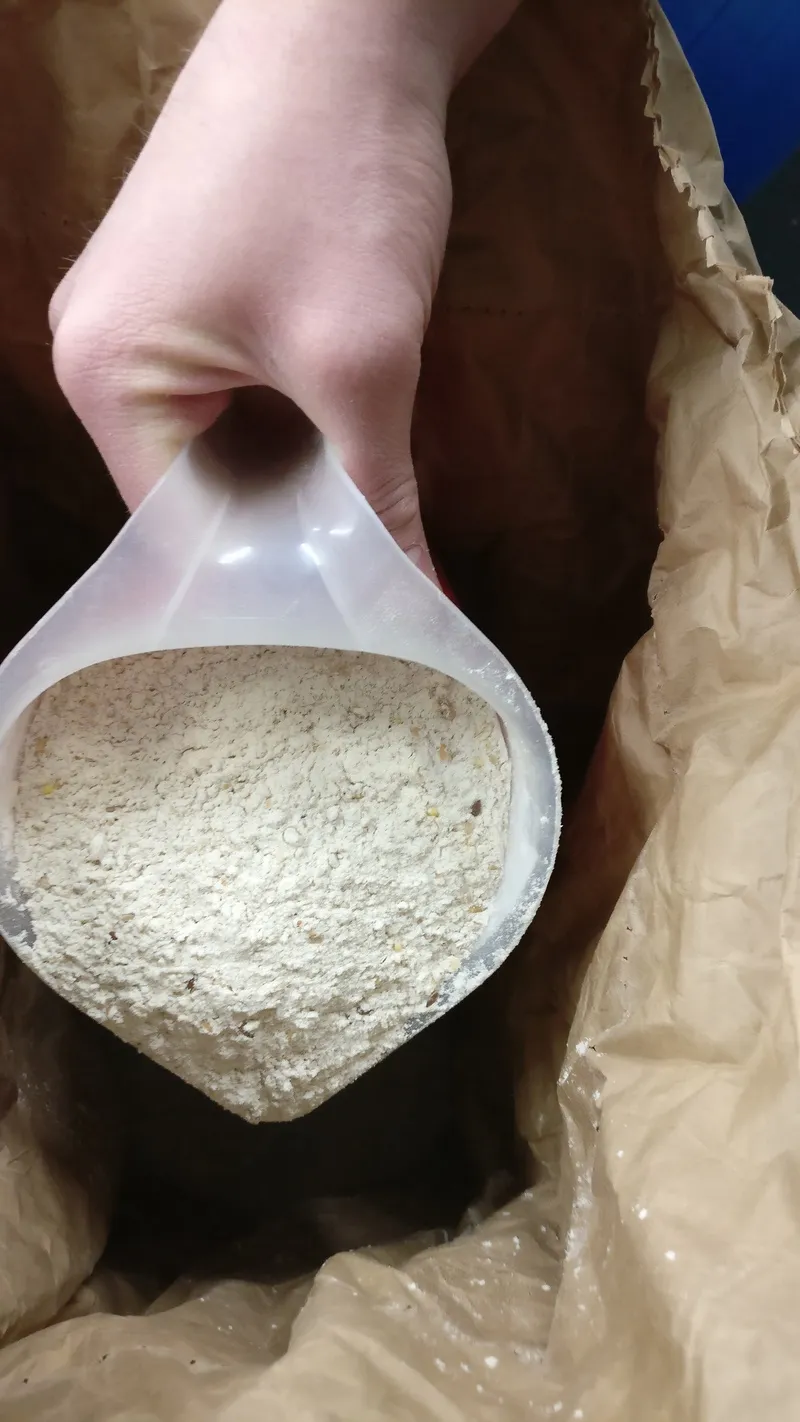
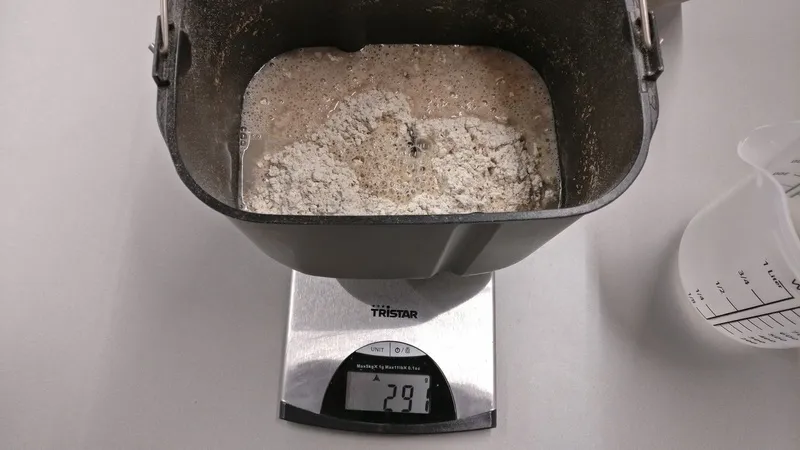
Grab flour from the bag with the measuring cup labeled “broodmix”.
-
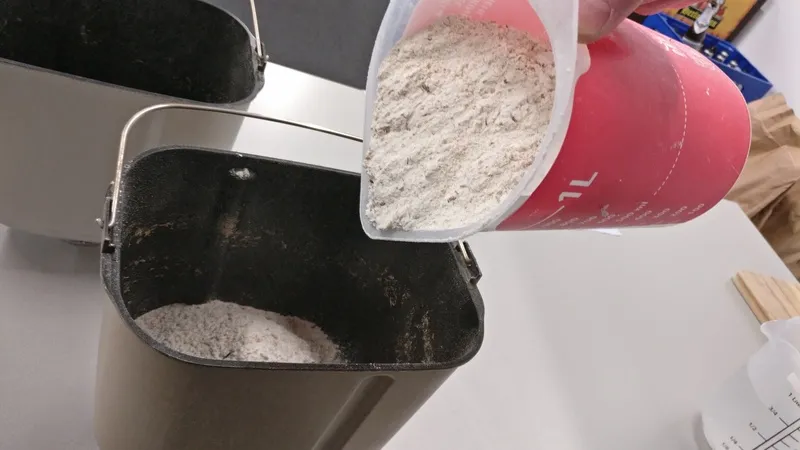
Pour some of the mixture in the tin.
-
Remember what you read on the package? (If not go check it again.) Now measure the amount of mixture, it doesn’t need to be precise.
-
If you’re baking more than one bread, replace the tin on the scale with an empty one and also add flour to this one. The tins don’t weigh the same, so be sure to tare the scale by pressing the power button once.
-
When flour is added to the tin it’s time to add water. Tare the scale with a tin on it and add water according to the package (ml == grams). This also doesn’t need to be precise. Repeat this step if you’re baking more breads.
-
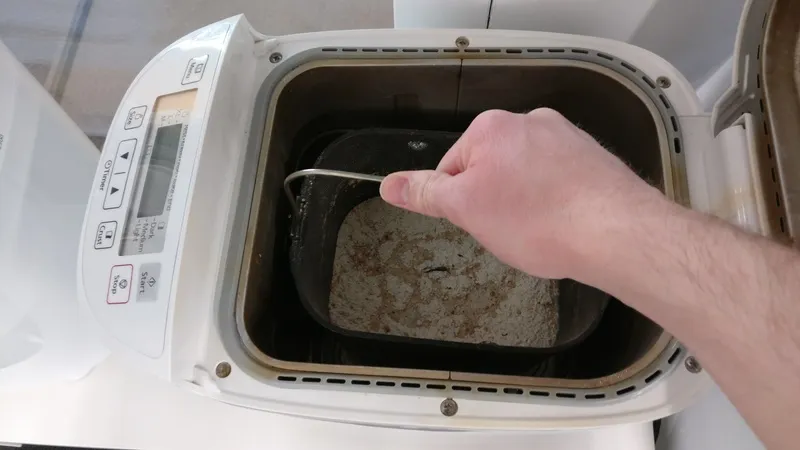
Place the tin in the bread baker.
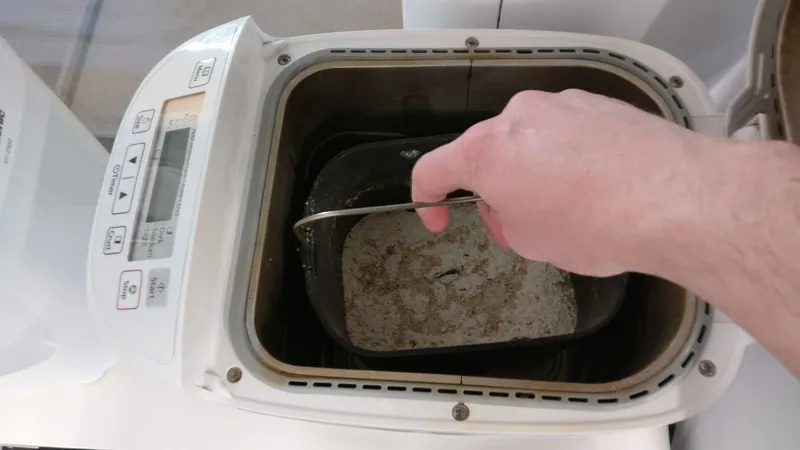
-
Now lock it in place by turning it clockwise. The tin should now be secured in the machine. Check it by trying to move the tin to the left or the right.
-
Close the machine.
-
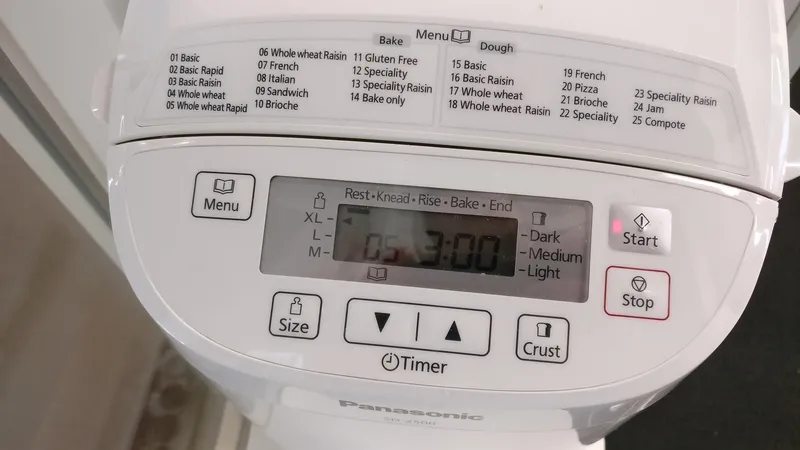
Press the menu button on the machine, it should now show on the display that program 05 is selected. If not, press (and release) the menu button until program 05 is selected.
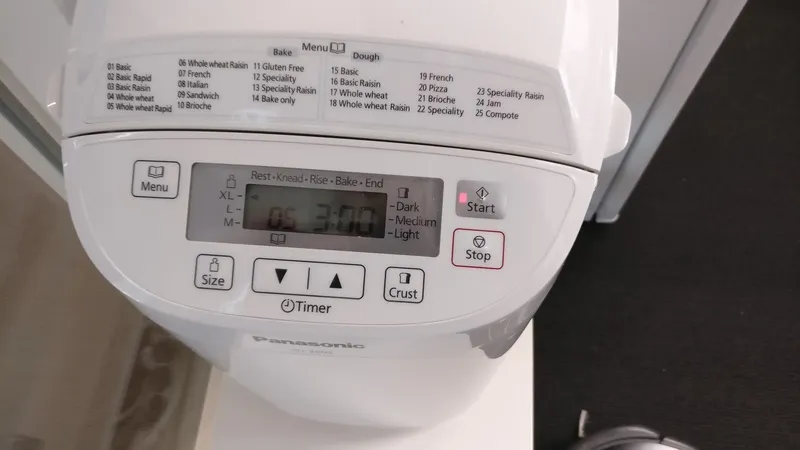
-
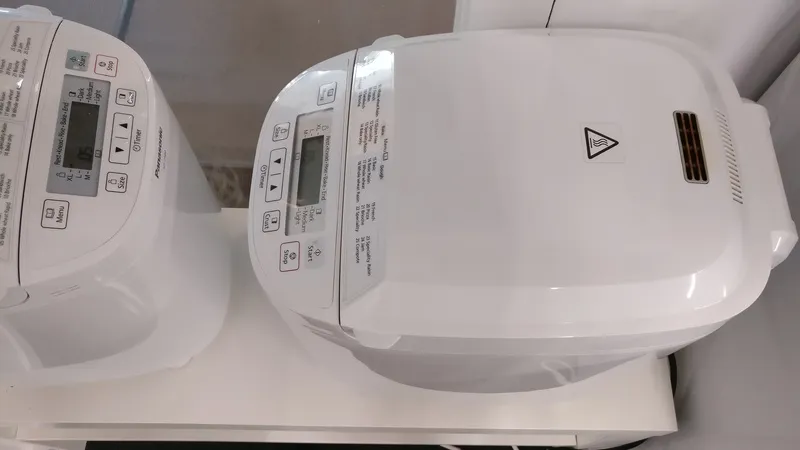
Now press start. The red light on the start button should now stay on instead of blinking. Pro-tip: if baking multiple breads, press all start buttons simultaneously so the machines bake bread in sync. This produces the least noise.
-
Leftover water can be poured into the water boiler.
The bread baking program takes 3 hours to bake bread. After the bread baking is complete, remove the bread from the tin and wait for 5 minutes for it to cool. Take out the kneader if it’s stuck in the bread, careful it’s hot!
When there is too much bread in the fridge, we make grilled sandwiches as described in Supply management